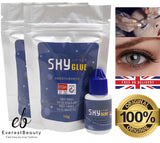
This product is not suitable for strip lashes, it should be used for eyelash extensions.
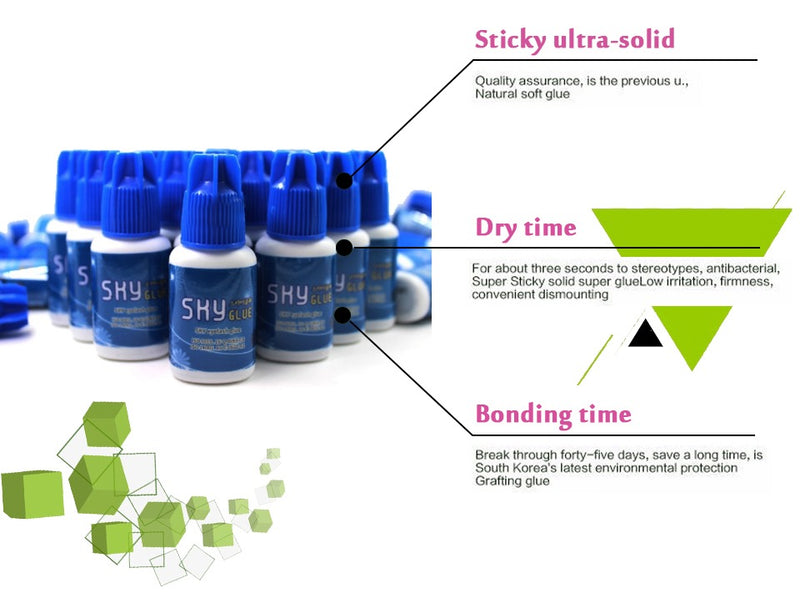
Sky Glue has a thicker viscosity that is easy to work with and allows maximum retention, comfort and finish.
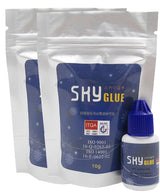
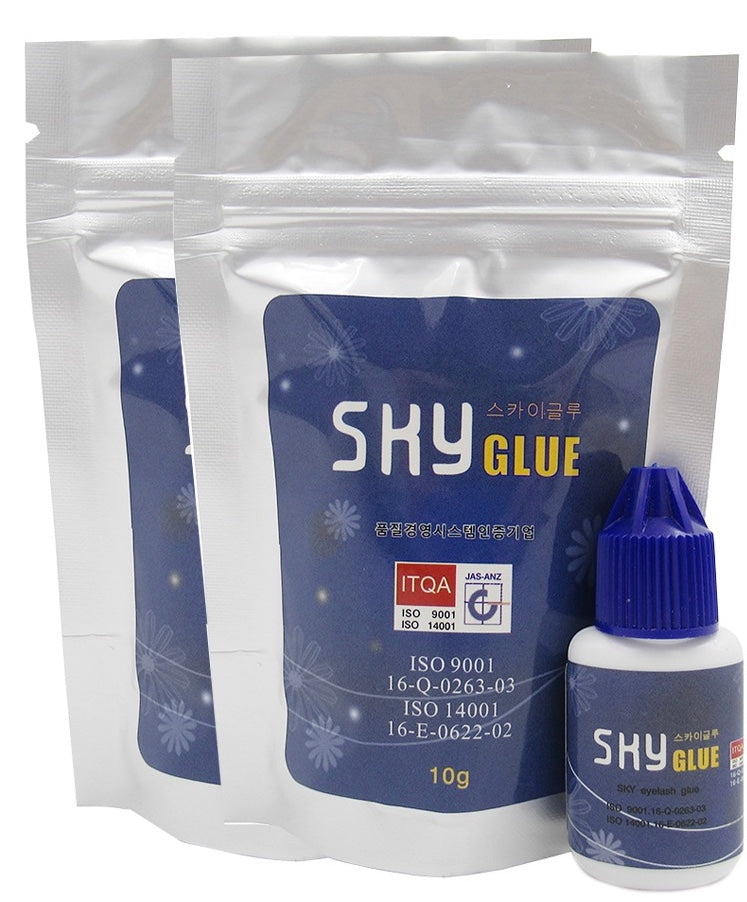
Size: 10ml
Glue Color: Black
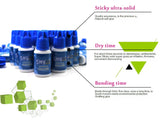
Drying Time: 1-2 seconds
Retention time: 4-6 weeks
Recommended temperature: 74-82°F (23-28°C)
Recommended humidity: RH 50-70%
Latex Free & Formaldehyde Free
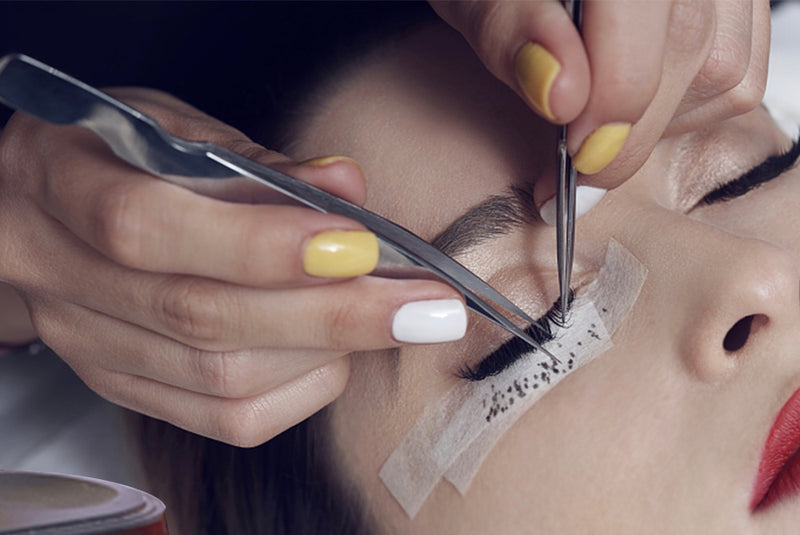
8 Steps to Perfect Eyelash Extensions
Step 1. Apply under-eye stickers
When applying under eye stickers/gel patches, you should avoid placing the sticker too close
to the eye. The sticker should be placed over the lower lashes, about 3-4 millimeters from the
lower lash line. Check lids from below to ensure upper and Lower lids form a seal with no gaps.
Step 2. Choose extensions
Always use at least three different lengths of extensions that range from 6 mm to 14 mm in length.
It is best to use 8 mm lash extensions in the inner corners of the eye to avoid avoid an artificial
clownlike look. It is also important to use 8 mm extensions all across the eye, between the
longer extensions to create a thick lash line. Failure to mix in short extensions results in empty
gaps that make the long extensions look similar to spider legs. For a dramatic look, opt for the
thickest ( 0.25mm) curly extensions. Finer lash extensions create a more natural look.
Step 3. Pick-up
Spread lashes out on your vinyl pad designed for quick pick up of the extensions.
Orient extension properly in the tweezers.The extension should be oriented at a 90°
angle to the straight tweezer for quick, accurate application
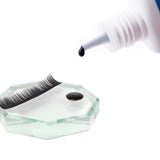
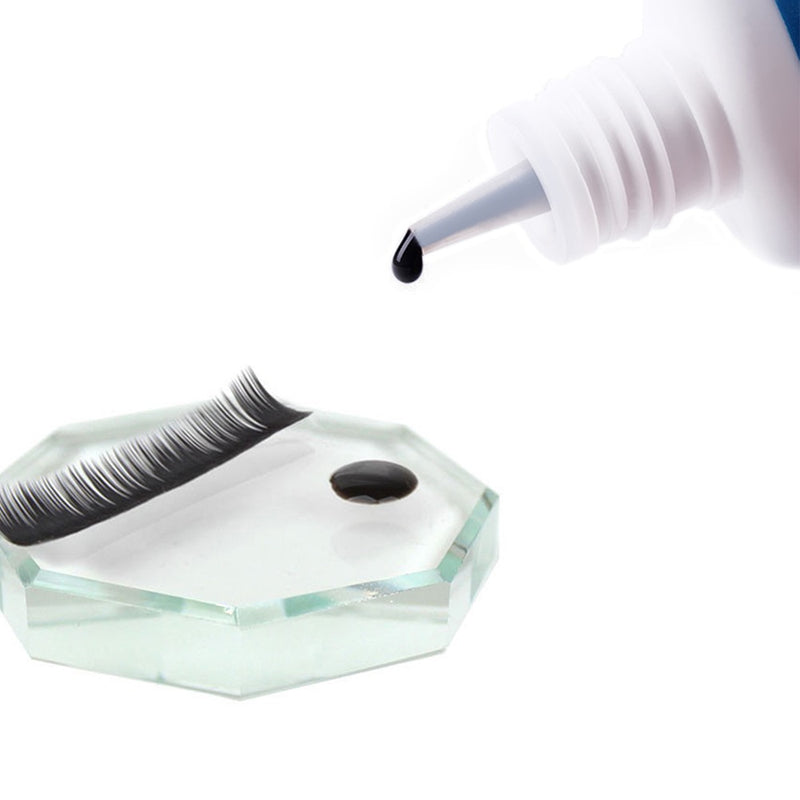
Step 4. Dip
While holding the extension from its tapered end, dip the extension into the adhesive; make sure
there is ample adhesive at the base of the extension. Swipe off any excess prior to applying.
Step 5. Isolate and Swipe
Isolate the natural lash with the curved tweezers. While holding the extension from its tapered
end, swipe the extension along the natural lash. Coat the natural lash with adhesive from base
to tip with no gaps in the glue. Spread the adhesive until smooth.
Step 6. Set
After swiping the natural lash with enough adhesive to coat it, set the extension on the lash
about 1/2–1 mm away from the eyelid. Release the extension onto the natural lash. The lash
should be facing upwards and parallel to the other lashes Without any beads of glue. Do not
touch the extension after setting. Move on to another area or the opposite eye and pentuous
apply extensions until It becomes difficult to isolate more natural lashes.
Step 7. Separate
No two extensions or natural lashes should be stuck together. Use both sets of tweezers to
separate any extensions from neighboring lashes and/or extensions. Grasp and separate
in a horizontal manner; best done while the adhesive is dry, but not fully cured. Never Pull
in a vertical direction or place any tension on natural lashes. Repeat the application and
separation steps until every natural lash is bonded.
Step 8. Dry
When all natural lashes have an extension securely bonded, it is time to dry the newly
adorned lashes for three minutes. Mist with distilled water, dry again for three minutes
and perform one final round of separation.Before completing service and to help to check
the Uniformity of application, combed with the comb brush or mascara brush.
|